Hey there! Are you looking to give your restaurant or café a modern touch by showing your menu on a TV? Don’t worry, it’s easier than you might think! This guide will walk you through the process step by step, no tech wizardry required. You will be able to show your menu on your tv after following this easy guide.
1. The Easiest Way: Using a USB Stick
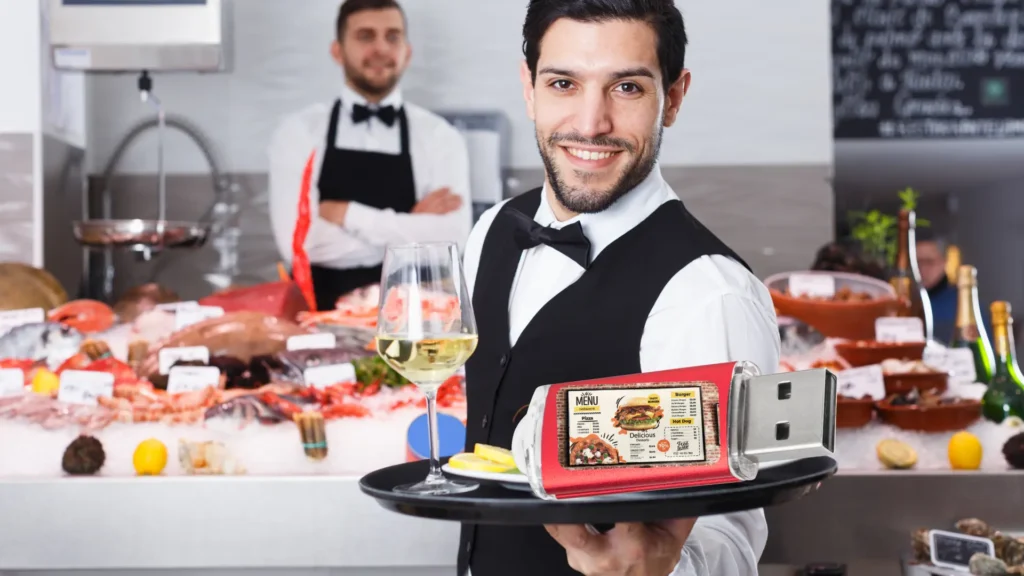
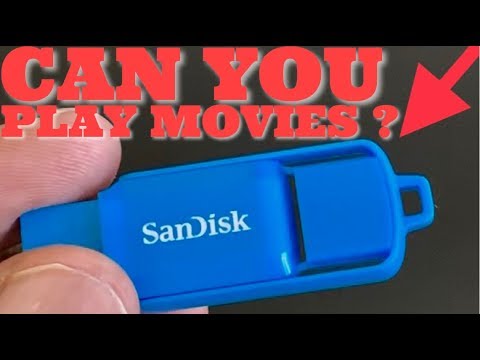
Let’s start with the simplest method – using a USB stick (also called a thumb drive or flash drive). It’s like a tiny, portable hard drive that can hold your menu pictures or videos.
Getting Your USB Stick Ready
- Find a USB stick: Any USB stick will do, but if you’re buying a new one, a 16GB stick is plenty for menus.
- Clean it up:
- Plug it into your computer.
- Copy any important files from it to your computer.
- Delete everything on the USB stick to start fresh.
- Make it TV-friendly:
- On Windows: Right-click the USB icon, click “Format”, check “Quick Format”, and click “Start”.
- On Mac: Open “Disk Utility”, select your USB, click “Erase”, name it “Menu Board”, and click “Erase”.
- Create a new folder:
- Open your USB stick.
- Make a new folder called “Menu Board”.
Great job! Your USB stick is now ready for your menu.
Putting Your Menu on the USB Stick
For Pictures (like PNG or JPEG files):
- Create your menu using any program you like (even Microsoft Word works!).
- Save your menu as a picture file (PNG or JPEG).
- Copy these picture files into your “Menu Board” folder on the USB stick.
- Name your files with numbers at the start (like “1_Breakfast.jpg”, “2_Lunch.jpg”) so they show up in order.
For Videos (MP4 files):
- If you have a video of your menu, save it as an MP4 file.
- Copy the MP4 file into your “Menu Board” folder on the USB stick.
Showing Your Menu on the TV
- Plug your USB stick into your TV’s USB port (it usually looks like a small, rectangular slot).
- Use your TV remote to find the “Source” or “Input” button.
- Press it and look for an option that says “USB” or “Media”.
- Select it, and you should see your “Menu Board” folder.
- Open the folder and select your first menu picture or video.
- For pictures, your TV might start a slideshow automatically. If not, look for a “slideshow” option in your TV’s menu.
- For videos, it should start playing. Look for a “repeat” option to make it play over and over.
That’s it! Your menu is now showing on your TV.
2. Other Ways to Show Your Menu On Your TV
If the USB method doesn’t work for you, don’t worry! Here are some other ways to get your menu on your TV:
Using an HDMI Cable To Add Your Menu On Your TV
You will need a really long wire from your computer to your TV (For this reason we don’t recommend this approach if you are using the TV in your restaurant ). If you the computer is close to the TV however then this approach could still be ok. How to show your menu on your TV using a HDMI cable below:
- Plug one end of the HDMI cable into your computer.
- Plug the other end into your TV.
- Use your TV remote to select the right HDMI input.
- Your computer screen should now show up on your TV!
Using a Smart TV App
If you have a smart TV (one that can connect to the internet):
- Go to your TV’s app store.
- Look for apps like “Digital Menu Board” or “Photo Slideshow”.
- Download one you like and follow its instructions to add your menu.
Wireless Options
For a no-cable solution:
- If you have an iPhone or iPad, look for “Screen Mirroring” in your settings.
- For Android phones, look for “Cast” in your settings.
- On your computer, search for “how to mirror my screen to TV” for specific instructions.
3. Making The Menu On Your TV Look Great
Let’s dive deeper into making your menu shine on the big screen:
- Use big, easy-to-read text: Think about your customers – they should be able to read your menu from across the room. Try using fonts that are at least 24 points in size.
- Choose colors that stand out: White text on a dark background often works well. But don’t be afraid to use your restaurant’s colors to match your brand!
- Don’t cram too much information on one screen: Less is more. Consider rotating through multiple screens if you have a large menu.
- Use mouth-watering pictures of your best dishes: A picture is worth a thousand words, especially when it comes to food! Just make sure the photos are high-quality and truly represent your dishes.
- Keep it simple and clean-looking: A cluttered menu is hard to read. Use plenty of space between items and sections.
- Highlight specials or popular items: Use a different color or a special border to make certain items pop.
- Use icons: Small icons can quickly convey information like “spicy,” “vegetarian,” or “gluten-free.”
Remember, your digital menu is also a marketing tool. It should make your food look irresistible! Work with a local design to help bring your TV menu or digital menu board to life!
4. Keeping Your Menu Up-to-Date
One of the best things about a digital menu on your TV is how easy it is to update. Here are some tips:
- Set a regular schedule: Maybe update your menu every week or month. This keeps things fresh for repeat customers.
- Seasonal changes: Highlight seasonal specials or remove out-of-season items easily.
- Quick price adjustments: If you need to change prices, it’s as simple as editing a file and updating your USB stick.
- Test before you update: Always preview your changes on a separate screen before putting them live on your restaurant TV.
5. Choosing the Right TV for Your Menu
Not all TVs are created equal when it comes to displaying menus. Here’s what to look for:
- Size matters: Make sure the TV is large enough for customers to read from a distance. For most restaurants, a 40″ to 55″ TV works well.
- Resolution: Full HD (1920×1080) is usually good enough, but 4K can make your menu look extra sharp if your budget allows.
- Brightness: Look for a TV with high brightness, especially if your restaurant has lots of natural light.
- Viewing angle: Wide viewing angles ensure customers can read the menu from different parts of your restaurant.
- Commercial grade: If your budget allows, consider a commercial-grade TV. They’re built to run for long hours and often have better warranties.
6. Placement is Key
Where you put your TV menu board can make a big difference:
- Eye level: Try to place the TV at average eye level for standing customers.
- Avoid glare: Position the TV away from direct sunlight or bright lights to prevent screen glare.
- Multiple screens: For larger spaces, consider using multiple TV menu boards placed strategically around your restaurant.
- Near the point of sale: Having a menu board near where customers order can speed up the ordering process.
7. Menu On Your TV Legal Considerations
Depending on where you live, there might be some rules about menu boards:
- Calorie counts: Some places require restaurants to show calorie information for each item.
- Allergen information: Consider including common allergens for each dish.
- Alcohol content: If you serve alcohol, you might need to display alcohol content for drinks.
Check with your local restaurant association or government office to make sure you’re following all the rules.
8. Getting Creative with Your Digital TV Menu
Your TV menu board is more than just a list of dishes and prices – it’s a canvas for creativity and a powerful tool for enhancing your customers’ dining experience. Here are some exciting ways to make your digital menu truly stand out:
- Showcase scenic landscapes: Transport customers to the origins of your cuisine with beautiful visuals.
- Highlight local suppliers: Feature images of the farms or artisans who provide your ingredients.
- Spotlight your chef: Include a bio or picture of your culinary team.
- Display customer reviews: Share positive feedback from happy diners.
- Add fun food facts: Sprinkle in interesting tidbits about your dishes or ingredients.
- Tell your story: Share your restaurant’s history or mission.
- Integrate social media: Encourage follows by displaying your handles or featuring a live feed.
- Use QR codes: Link to videos of dish preparation or more detailed descriptions.
- Get seasonal: Adapt your design for holidays or local events.
Let’s dive deeper into a few of these ideas:
Scenic Landscapes: If you’re serving Italian dishes, why not showcase rolling Tuscan hills or the colorful coastline of Cinque Terre? For a sushi restaurant, serene images of Mount Fuji or bustling Tokyo fish markets could set the perfect mood. These visuals not only create ambiance but also tell a story about your food’s heritage.
Local Suppliers: Consider featuring the farms where you source your ingredients. An image of sun-dappled orchards could accompany your apple pie description, or a picture of a local cheese maker might complement your artisanal cheese board offering. This not only adds visual appeal but also emphasizes your commitment to quality and local sourcing.
Chef Spotlight: Your chef is the heart of your restaurant, so give them the spotlight! You could feature a “Chef’s Special” section where your head chef shares their personal recommendation or the inspiration behind a particular dish. This personal touch can create a connection between your customers and the culinary expertise behind their meal.
Remember, your digital menu is dynamic – take advantage of this flexibility to keep things fresh and exciting for your customers. With a little creativity, your TV menu board can become a key part of your restaurant’s atmosphere and a powerful tool for enhancing the dining experience.
9. Troubleshooting Common Issues
Even with the best preparation, sometimes things don’t go as planned. Here are some common problems and solutions:
- TV won’t recognize USB: Try formatting the USB drive again or use a different USB port on the TV.
- Menu looks blurry: Make sure your images or videos match your TV’s resolution.
- Slideshow won’t start automatically: Check your TV’s user manual for instructions on auto-play settings.
- Colors look different on TV: TVs often have different color settings than computers. Adjust your TV’s picture settings or tweak your menu colors.
Need Help Still With Showing Your Menu On Your TV?
If you get stuck, don’t panic! Here are some things to try:
- Ask a tech-savvy friend or family member for help.
- Look for your TV’s instruction manual (or find it online by searching your TV’s make and model).
- Visit your local electronics store – they often have knowledgeable staff who can help.
- Consider hiring a local IT professional or digital signage expert for a one-time setup.
Remember, you don’t need to be a tech expert to show your digital menu on a TV. Take it one step at a time, and soon you’ll have a beautiful digital menu board that will impress your customers.
With a little effort, your digital menu board can become a valuable tool for your business, helping to showcase your delicious offerings and create a modern, dynamic atmosphere in your restaurant. Good luck, and happy menu-making!

