Online ordering menu setup and editing prices
You are able to edit the prices on your menu very easily on the computer. Right now the admin area to edit your prices must be done on a computer-sized screen.
This video gives a quick run down of where to find the menu setup and price edit features on your dashboard
For further questions or instruction, you can visit the guide below or book a meeting time with our team.
Step 1: Login on the computer

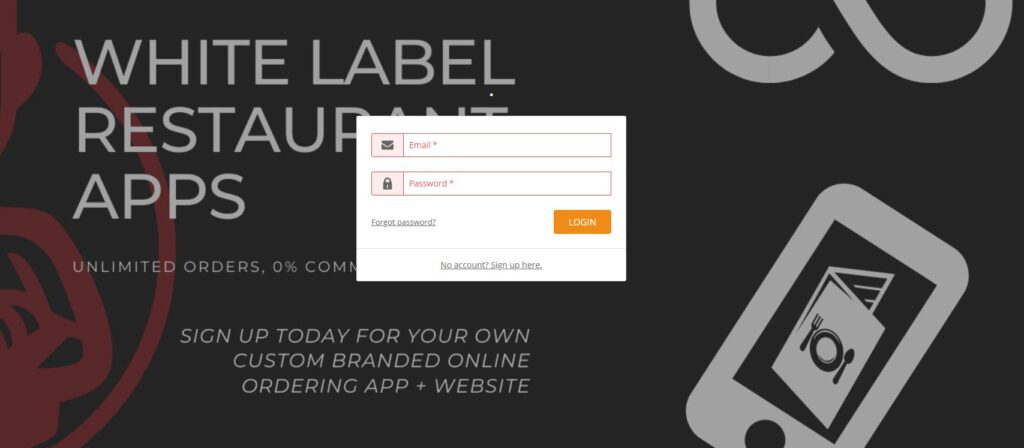
Please login to your restaurant’s online ordering dashboard and admin area with the provided credentials of your account rep at ordermenu.ca
Step 2: Navigate to the Menu Setup Section
Once logged in on your dashboard please navigate to the menu setup section

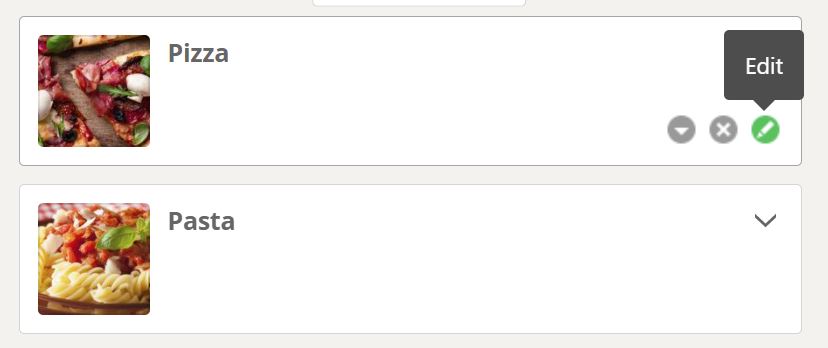
Step 3: Edit the menu category

You will be able to add the name and description of each menu category. Each menu category should contain a list of closely related menu items
In the dropdown icon button 🔽 for each menu category, you can edit the menu visibility to show only certain hours or hide all menu items in that category
Step 4: Edit the menu items

Clicking the dropdown caret button you will be able to see all the items for that drink menu category. If you don’t see any items you can add a new item.
Under each item you will be able to see the edit options and the drop-down options where you can specify the following on the menu item level:
- Visibility
- Mark Item As
- Taxation
Mark Item as allows you to pick whether or not the following items are
- hot
- vegan
- halal
- dairy-free
- vegetarian
- gluten-free
- nut-free
- raw
There are currently eight labels to choose from based on the most popular restaurant options. If you want to mark your item as something else you can always specify a custom one in the name or description of each item.
Step 5: Choices & Addons

Choices & Addons are where your restaurant menu customizations can really come to life.
Once you have added a group, you can add choices to each group.
A group is a collection of choices that can be added to each menu item or menu category via drag and drop. In the example above the following are groups
- Crust
- Extra Toppings Small
- Extra Toppings Large
The extra toppings are split into small and large so that we can add them to each pizza size and have extra toppings priced according to each pizza size.
Once you have added your group of choices you can hover over each group and click on edit where you will be able to
- Choose between optional or mandatory
- Force min or max number of selections that the customer can pick
- Allow the customer to add the same choice multiple times
For each choice in the group, you will be able to edit the price, name and determine whether it should be pre-selected for the customer.

There is a lot of flexibility to build the menu out exactly how you need to ensure
- It is very easy and convenient for your customers
- It is very easy and convenient for you and your staff
- Less confusion in the ordering process thereby streamlining your online ordering
With online ordering, you can also effectively limit and control how you would like people to order online.
If you are a restaurant that needs lots of customization you should be able to build all of that into the menu online ordering system.
Preview and Test Your Order

After making changes you should use the green Preview & Test Ordering button at the top to ensure that the changes you made are accurate and reflect how you want a customer to order. If you still ensure you can use the Show Me button on the top.
Online Ordering Menu Setup Conclusion
We can also build your menu for you! Simply use the Menu Upload button on your dashboard to get started. Please note that this is not an automated process—your request will be sent to a menu specialist or your account manager, who will review it and provide a quote or offer further assistance.
We hope this quick overview has made it easier for you to manage your restaurant’s online ordering menu. Whether you’re launching a new restaurant or refreshing an existing one, our team is here to support you every step of the way. From custom menu setup to full website redesigns and integrated online ordering systems, we’ll help you create a seamless and professional online presence that drives real results.
Ready to take the next step? Get in touch with us here.
